So, I Decided to Make a Full-featured Game in SwiftUI


About a year ago, I started working on a new game called Lowlife in Unreal Engine 4. A few months into the game, just as the core gameplay loop was coming together, Epic released a public preview of Unreal Engine 5. I decided since I still estimated a few months of dev time left, I’d take the plunge.
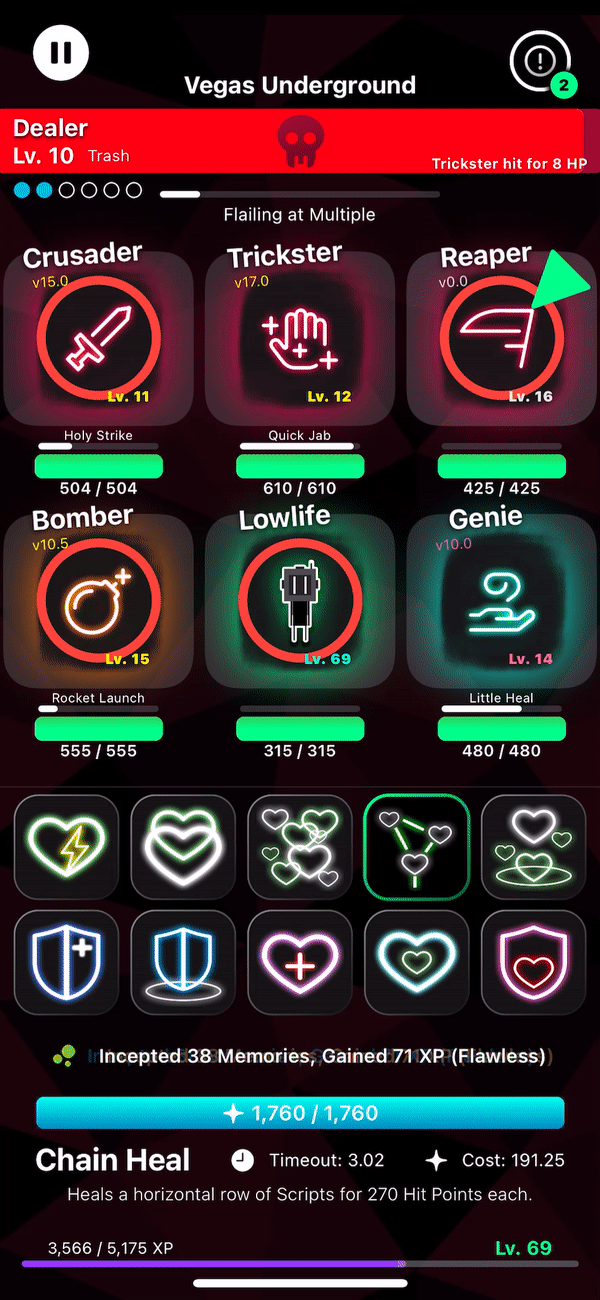
Lowlife (the PC version) is a third person healing game, where you take the control of Lowlife who heals his party of AI-controlled NPCs. You simply lead them around, and they attack monsters for XP, loot, etc. When you engage a boss, the mechanics are much like you would find in an MMORPG, but in just a single player experience (currently).
There were some hiccups with UE4 in regard to pathing for NPCs, so I decided I would port over to UE5 and hope some quirks get worked out.
With the core gameplay loop mostly completed in UE5, I wanted to jump back into Swift and iOS and give SwiftUI a try until the final version of UE5 released (which it just did a few weeks ago!).
After reading about some of the new features added in iOS 15 like Canvas, I wondered if a full-blown game in SwiftUI could be feasible.
Turns out, it is.
Keep in mind I never used SwiftUI before iOS15 or SwiftUI 3.0, so some of the things I’ve taken advantage of may not have been available in the past.
In this first installment, I will go over a few of the optimizations I needed to make in order to get performance to where it needed to be.
SwiftUI and a Game Update Loop
With any game, you need an update function. This is the timer for your game that keeps track of what everything is doing and its state. Ideally you want it to run each frame, so 60 calls per second for 60FPS. Just starting with SwiftUI, the obvious choice is a SwiftUI Timer that runs at 0.016 right?
Oh hell no.
The SwiftUI Timer is not guaranteed to run in a precise manner, it’s just not going to happen. It is affected by what I’m assuming is the thread it runs on which can get bogged down with everything that’s going on in the game. The more action, the slower the timer fires. This would cause the update function to run slower, thus the game will slow down and be a direct correlation to the frame rate of the device. So, slower devices for example would be moving through molasses.
Fortunately, like SpriteKit, we can tie the display refresh rate directly to our own update function and keep track of delta time, which in turn gives us a buttery smooth update function.
In your game, or via user-controllable preference, you can set your target refresh rate. This will also give your user the flexibility to use a low power mode or high-power mode so you can target 30fps (low power mode) 60fps (medium power mode) and 120fps (for compatible devices and users who do not worry about battery life).
For the mobile version of Lowlife, there is a TON of things always happening, like any real-time game. What I found is the more stuff going on, the more views are being re-rendered (I’ll have some tips on this later), and the Timer could not keep up and fire 60 times per second.

First you want to set a timer rate, this is the amount of adjustment made to any values. For example, if you would like to regenerate 1HP per second, you would want to add the below values to your HP Float (or Double) that would end up being 1.0 in a second.
All of the below code would be placed in your ViewModel object, which will be initialized as a StateObject in the game's Main SwiftUI View struct. Remember, all the heavy lifting will be in the VM and not in the View itself.
var universalTimerRate: Double = 0.032 //30fps
var universalTimerRate: Double = 0.016 //60fps
var universalTimerRate: Double = 0.008 //120fps
Then you create a Display Link which is built into Core Animation. This is absolutely required because you get delta time so your update function isn’t frame-locked. Delta time is a key component for any game that can experience varying framerates.
private var displayLink: CADisplayLink?
private var mediaTime: TimeInterval = 0.0

private func startDisplayLink() {
    stopDisplayLink()
    mediaTime = CACurrentMediaTime()

    let displayLink = CADisplayLink(target: self, selector: #selector(update))
    let desiredFrames: Double = CharacterData.SaveData.refreshRate

    displayLink.preferredFramesPerSecond = desiredFrames
    //This is DEPRECATED in iOS15 but still functions.. looks like we’re moving to CAFrameRateRange which I will need to test

    universalTimerRate = 1.0 / desiredFrames
    displayLink.add(to: .main, forMode: .common)
    self.displayLink = displayLink
}


func stopDisplayLink() {
    displayLink?.invalidate()
    displayLink = nil
}
In the above example, we create the startDisplayLink function which will ensure there’s no other Display Links running and terminate them if they are not nil.
We then set an initial value for mediaTime variable to the return time from Core Animation. We create the Display Link with a selector that targets our update function, simply called update.
Next we set an initial value for universalTimerRate, but don’t get too attached because this is the key to our delta time. We always want the Display Link on the main thread since all of our game logic needs to happen orderly.
Depending on the user-selected refresh rate (in the above example UserDefaults are all controlled by a helper class called CharacterData with a shared instance called SaveData) we will match everything up to ensure that we can deal with simple cooldowns and rates in seconds and not milliseconds.
Our update function needs to be visible to CADisplayLink which requires an ObjC method, which we can just note on our Swift update function.
@objc
private func update() {
    let elapsedTime = CACurrentMediaTime() - startTime
    startTime = CACurrentMediaTime()
    universalTimerRate = elapsedTime
    ...
}
So, here’s what we’re doing every update cycle. We are setting elapsedTime to keep track of our frame rate, i.e. how long in real time it took between frames. Next, we re-set the startTime so it’s ready for the next update run, then we adjust our universalTimerRate to the elapsedTime variable.
Now, we have delta time, we can make sure that our in-game updates remain consistent and are NOT frame-locked, like so:
@objc private func update() {

    ...

    gameState.timeElapsed += universalTimerRate

    ...

    if Notifications.notificationTimer > 0 {
        Notifications.notificationTimer = max(Notifications.notificationTimer - universalTimerRate), 0.0)
        if Notifications.notificationTimer <= 0 {
            Notifications.showingNotification = false
        }
    }
}
With our gameState.timeElapsed, we know exactly how many real-world seconds we’ve been in game.
And when we are showing a notification that is only supposed to appear for a limited amount of time (that we set in seconds via Double or TimeInterval), we can decrement the universalTimerRate to get 100% accuracy.
When you exit your main game view, make sure to stop the Display Link. Even though we have a fail-safe on the startDisplayLink function, it never hurts to keep things tidy.
I have a lot more I would like to talk about with SwiftUI and creating a full-fledged game, so stay tuned for more!